Make a chat app with Svelte + Firebase v9 Part 1

I am a 12 year old student developer from India. I like programming very much.
Today, we'll make a small chat app with Svelte and Firebase. Let's get started.
Prerequisites
- HTML
- CSS
- JavaScript
- Svelte
- Some Firebase
Before starting, make sure you have a Firebase account. Let's get going!
Setting up Firebase
First, we have to set up Firebase. Go to your Firebase console: https://console.firebase.google.com/.
Then, start a new project:
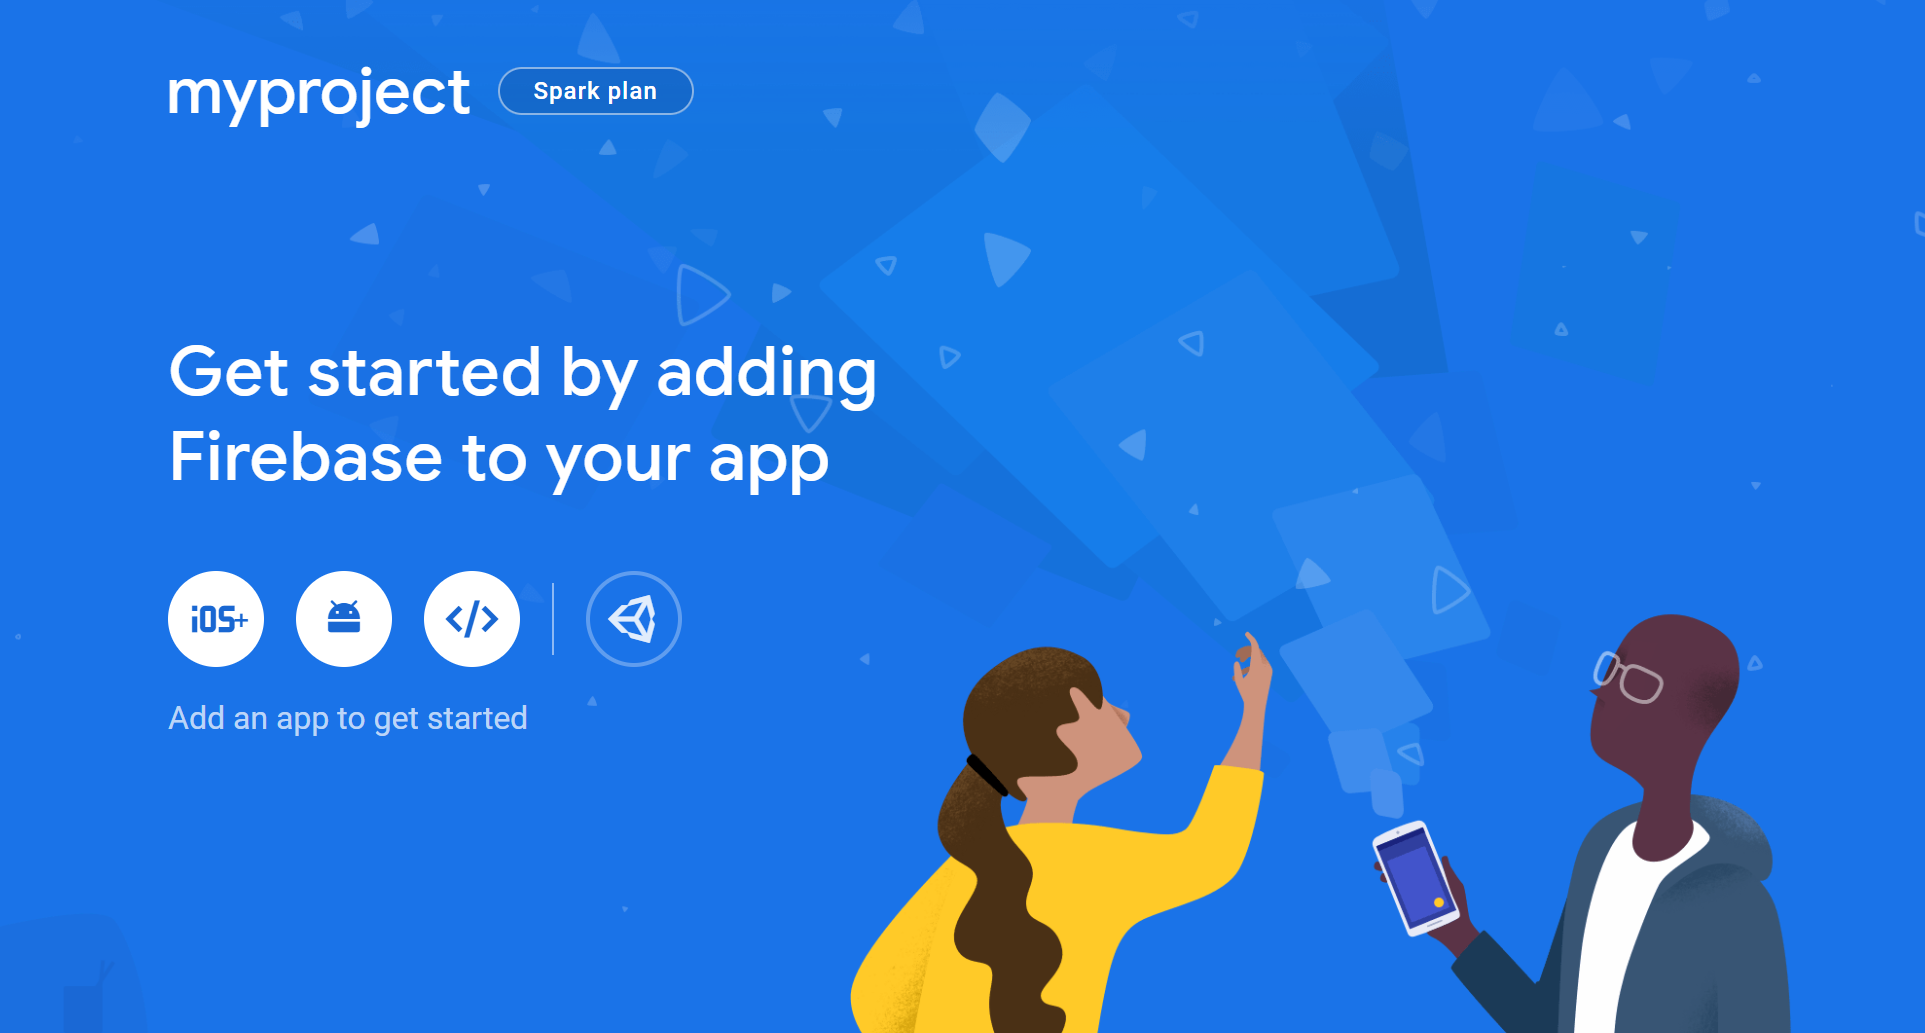
After some steps, you'll see something like this. Click on the web option.
Making the Svelte app
First, let's make our Svelte app. I'm using Vite, but you can use anything. Now back to the Firebase console, you'll see a form type thingy you click the web button.
After you give your app a nickname, you'll find your API key and stuff.
Starting with Firebase
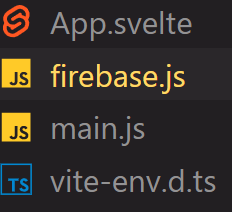
In the Svelte app, npm install firebase. Let's make a new file for Firebase initialization and stuff for cleaner code.
Let's import initializeApp from Firebase.
import { initializeApp } from "firebase/app";
Then paste the config.
Then initialize the app with this command:
initializeApp(firebaseConfig);
Setting up authentication
Now to set authentication in Firebase, go to the project console. Here you'll find an option for authentication.

Click on it and then click on get started. You'll find many options here. We are using Google auth in this tutorial.
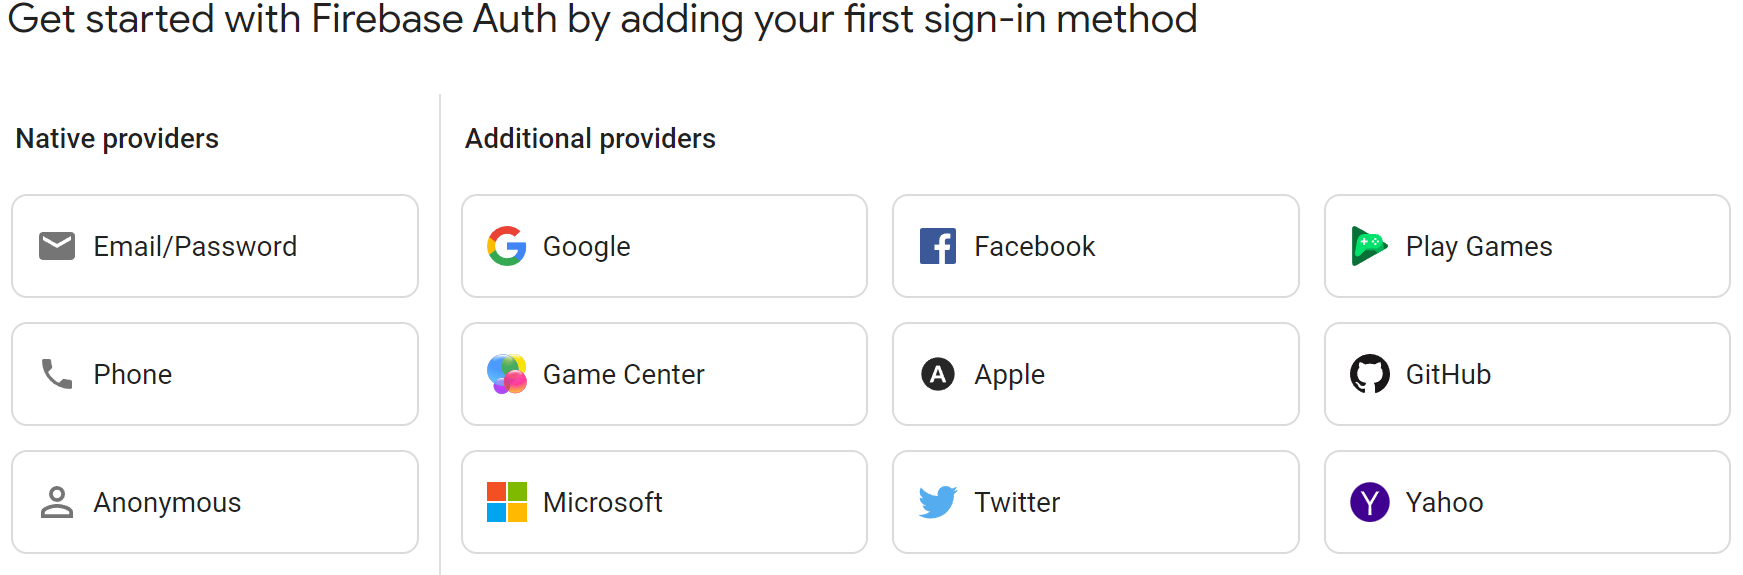
Click on Google. Enable it and hit save.
Now in Firebase.js, let's start writing real code😎😎😎.
First, we have to import these things:
import {
  getAuth,
  signInWithPopup,
  signOut,
  GoogleAuthProvider,
} from "firebase/auth";
Then let's make a function for signing in:
const auth = getAuth();
const provider = new GoogleAuthProvider();
const si = () => {
  signInWithPopup(auth, provider)
    .then((result) => {
      // This gives you a Google Access Token. You can use it to access the Google API.
      const credential = GoogleAuthProvider.credentialFromResult(result);
      const token = credential.accessToken;
      // The signed-in user info.
      const user = result.user;
      console.log(user);
      // ...
    })
    .catch((error) => {
      // Handle Errors here.
      const errorCode = error.code;
      const errorMessage = error.message;
      // The email of the user's account used.
      const email = error.email;
      // The AuthCredential type that was used.
      const credential = GoogleAuthProvider.credentialFromError(error);
    });
};
So what is happening? So here, we have an auth variable and a provider. We're passing it to the signInWithPopup function. We are getting a credential, a token, and finally the user. Then we have a catch in case it fails.
Now moving to signOut, it is simple.
const so = () => {
  signOut(auth)
    .then(() => {
      alert("signed out");
    })
    .catch((error) => {
      // An error happened.
    });
};
Here, we are simply signing out and giving an alert.
Exporting the functions
Now just export the si and so functions and also auth.
export { si, so, auth };
The Svelte code
Now in App.svelte, let's make 2 buttons. One for signIn and one for signOut.
<script>import {auth, si, so} from "./firebase.js";</script>

<button on:click={si}>login</button>
<button on:click={so}>logout</button>
Now we have implemented auth.
Thanks for reading! This is only part 1. Part 2 will come soon. Hope you like it so far 😀


