Make a chat app with Svelte + Firebase v9 Part 2

I am a 12 year old student developer from India. I like programming very much.
Now we want to make a chat app right? But first, we need a database. In Firebase, we generally use Firestore as our database. Let's set it up first!
Setting up Firestore
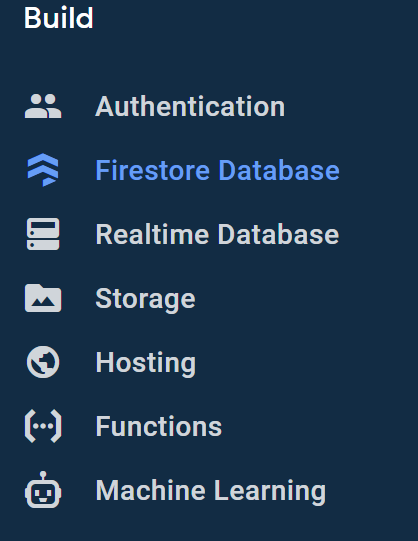
In the Firebase console, you'll see many options on the left-hand side of your screen:
Click on Firestore database. You'll see a screen like this:
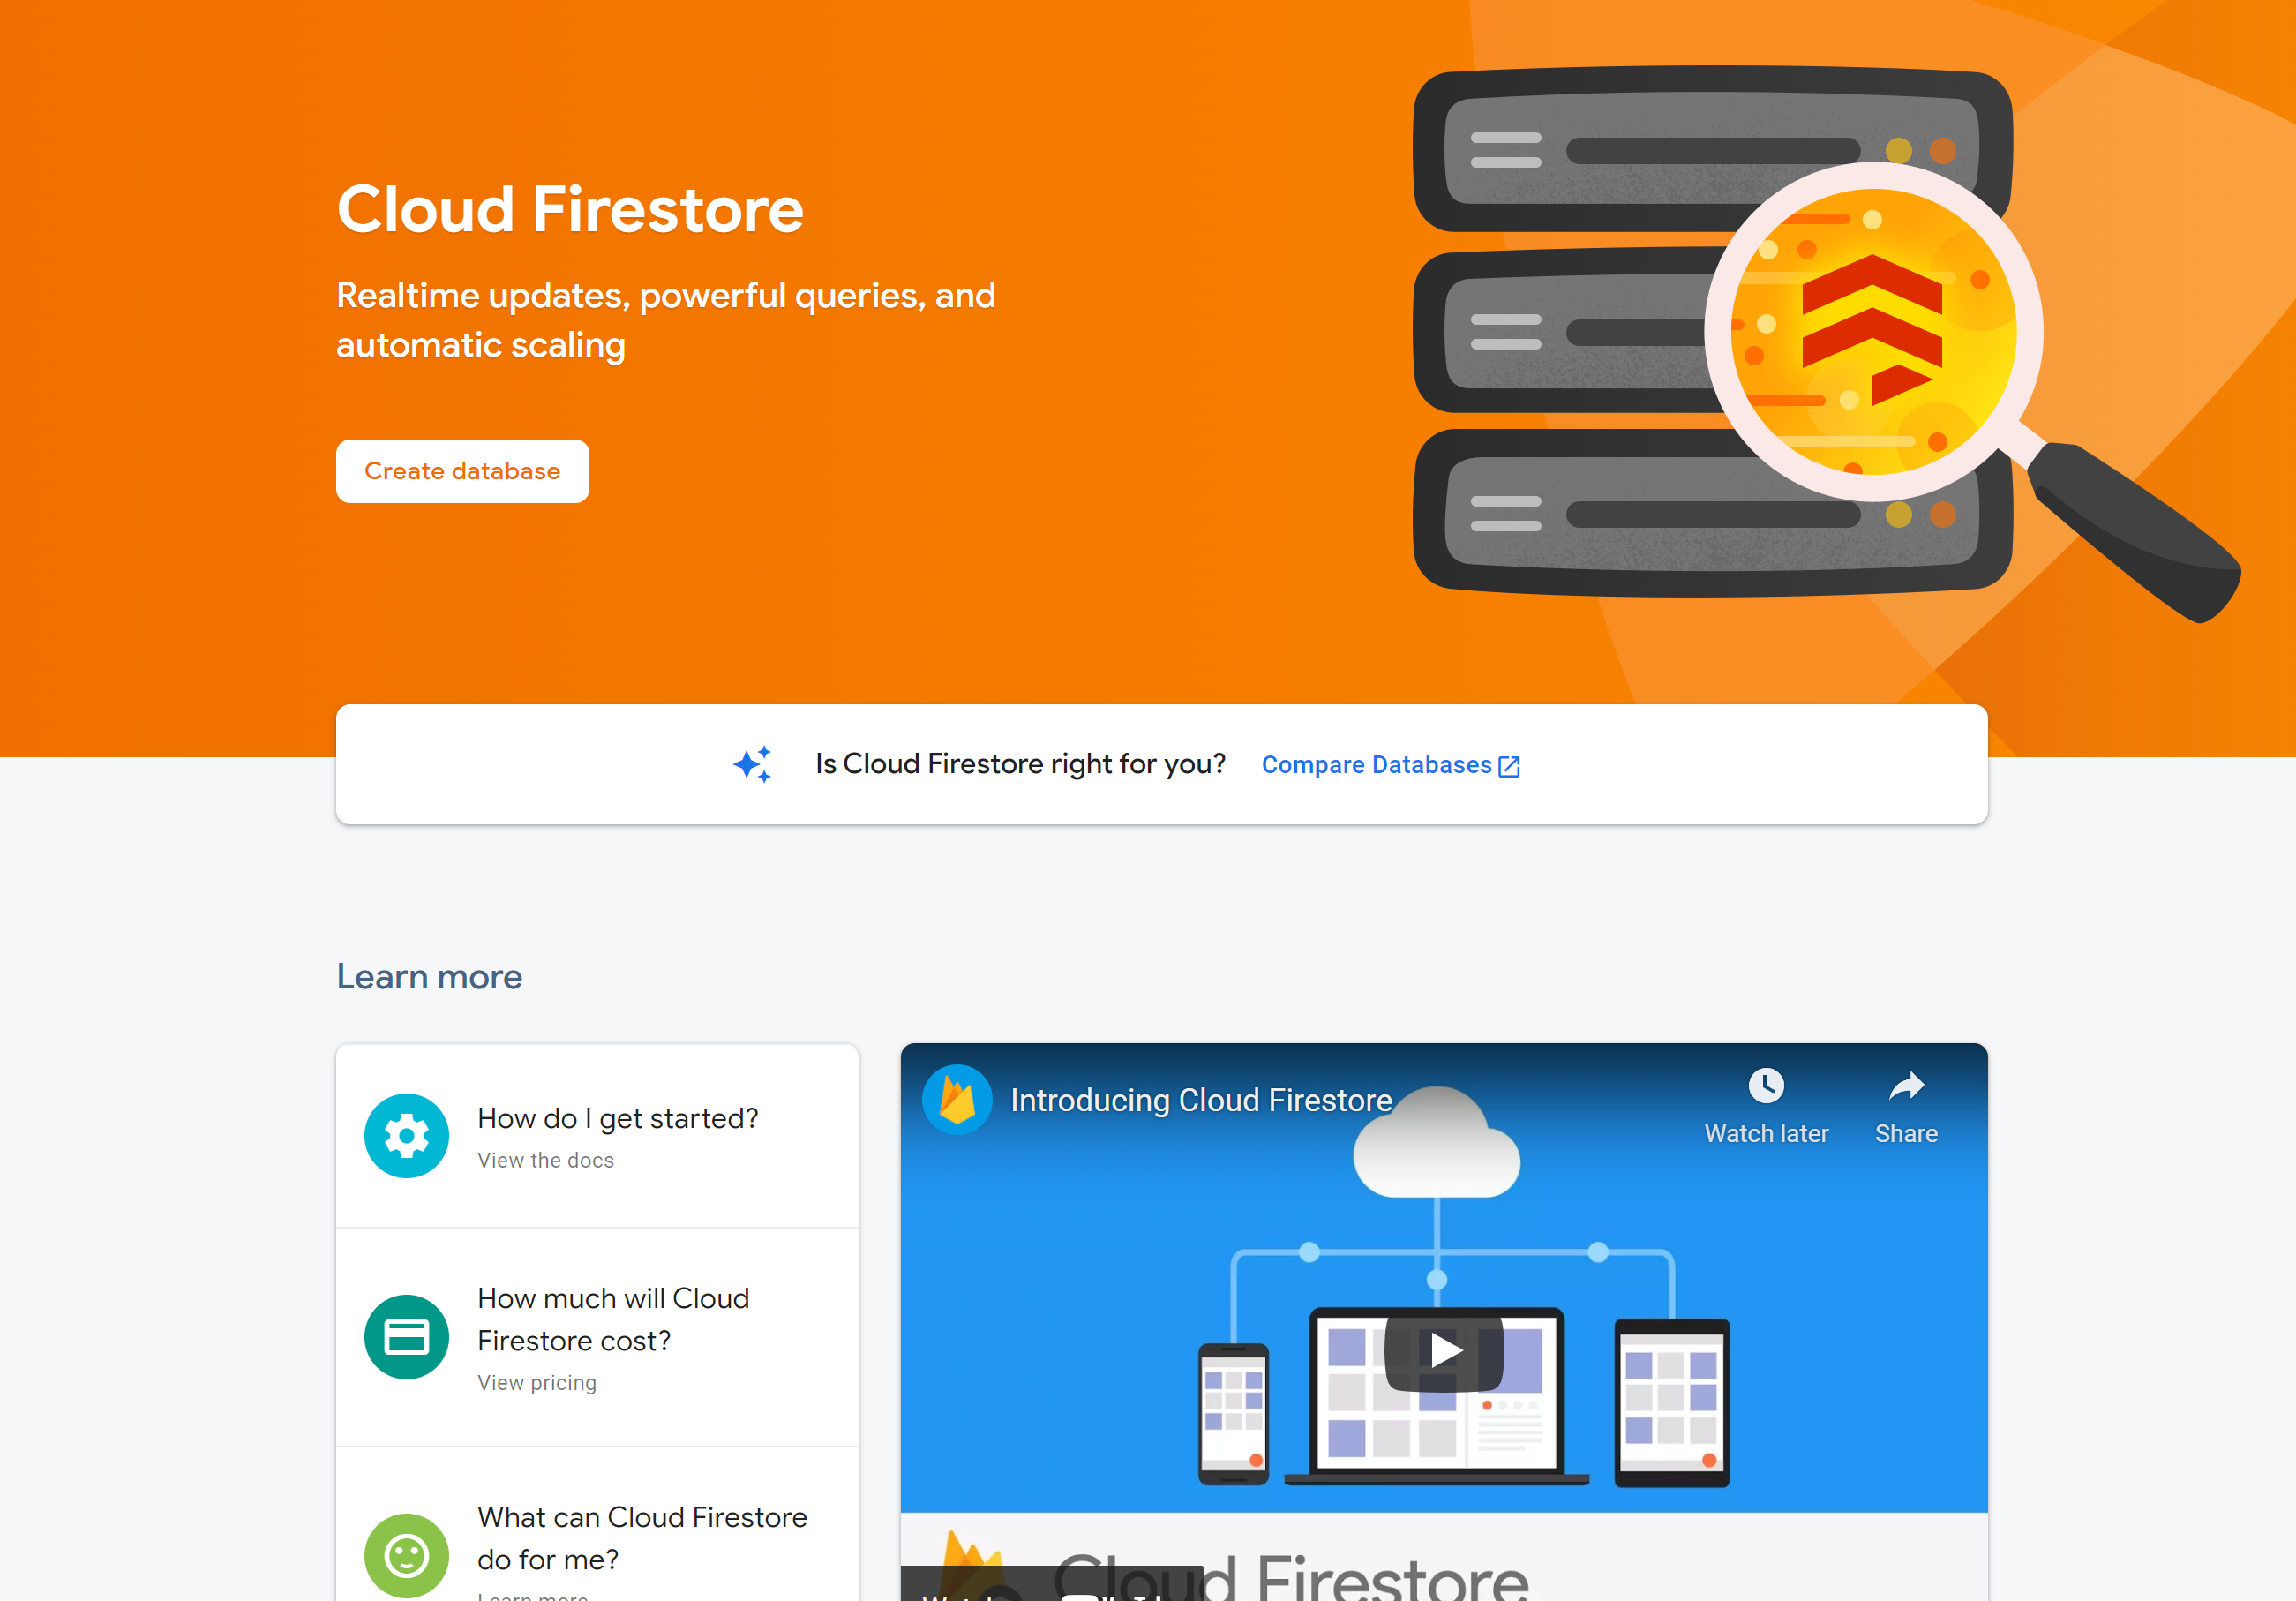
Click on create database. Now start it in test mode, we can update it later.
Now choose a location. You can choose any location you want!

Now click on enable. It will take a couple of minutes.
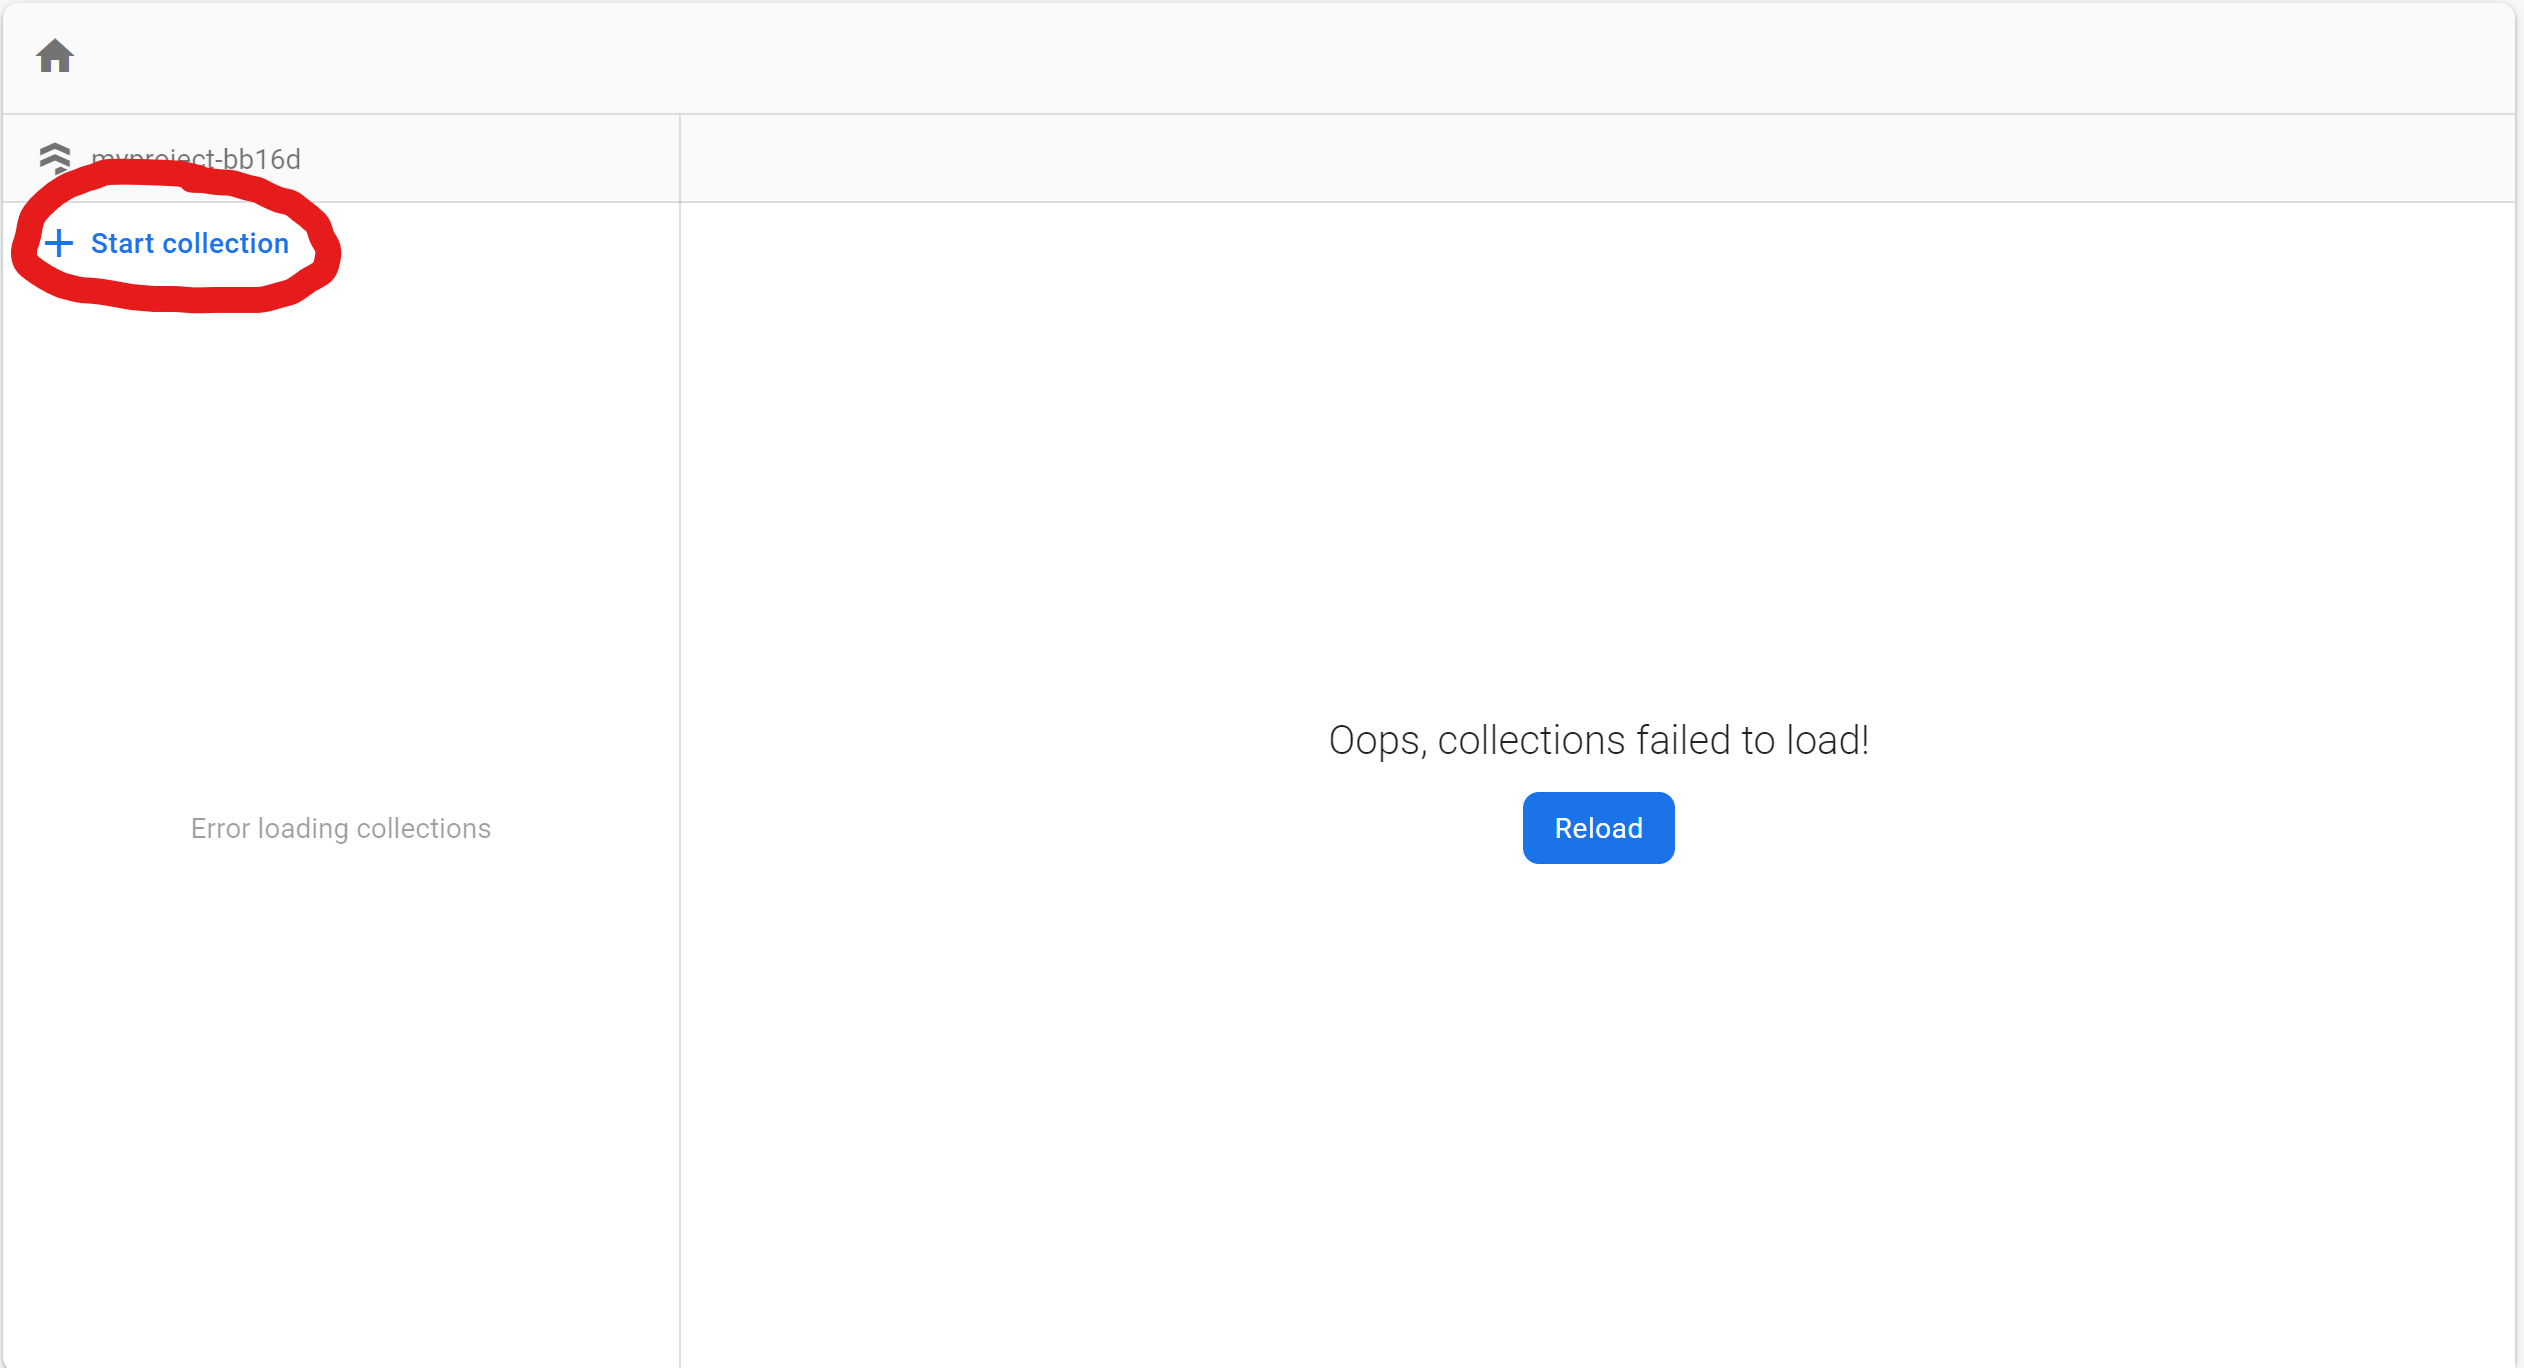
Now start a new collection!
Give the collection a name. I'll call it messages. Then click on next.
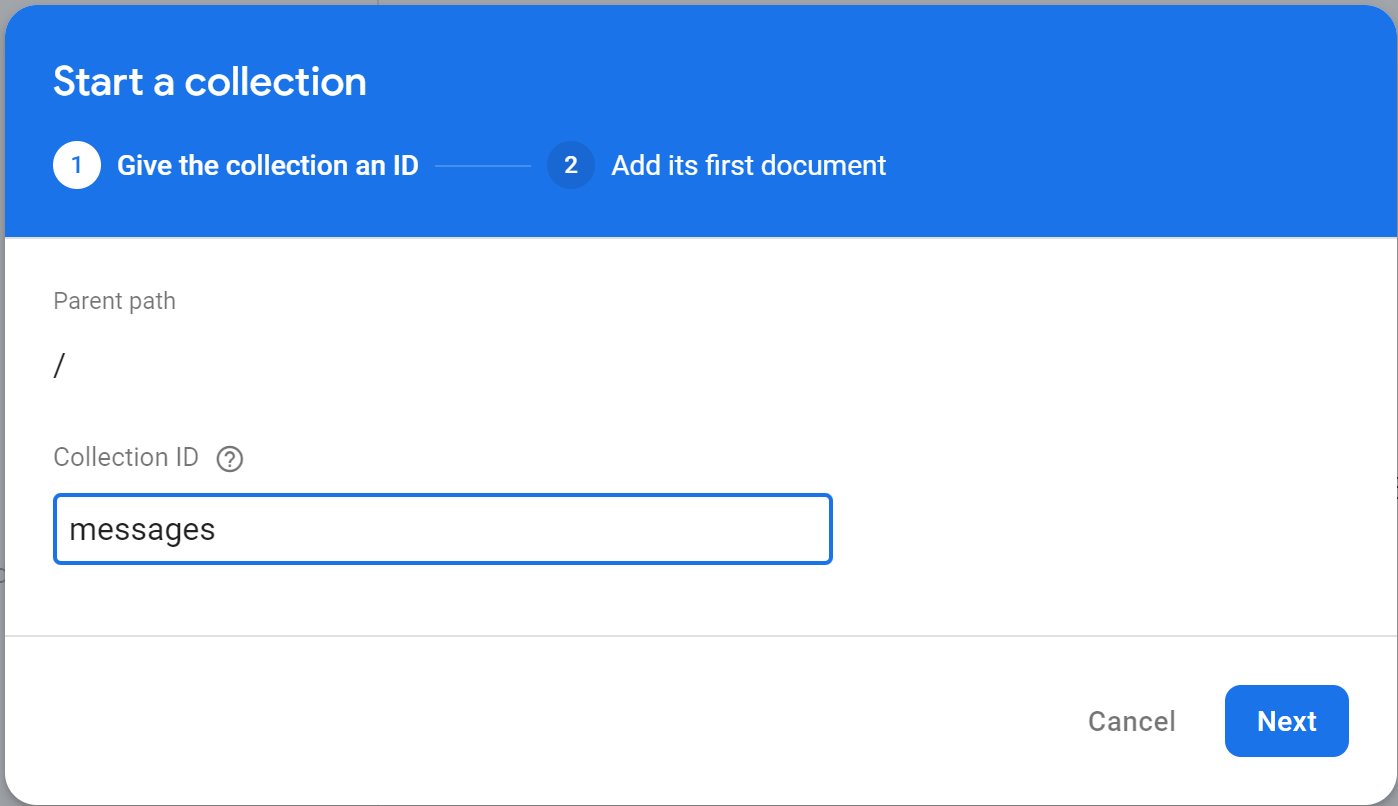
Now give it an id. You can also use auto-id.
Now add some fields:
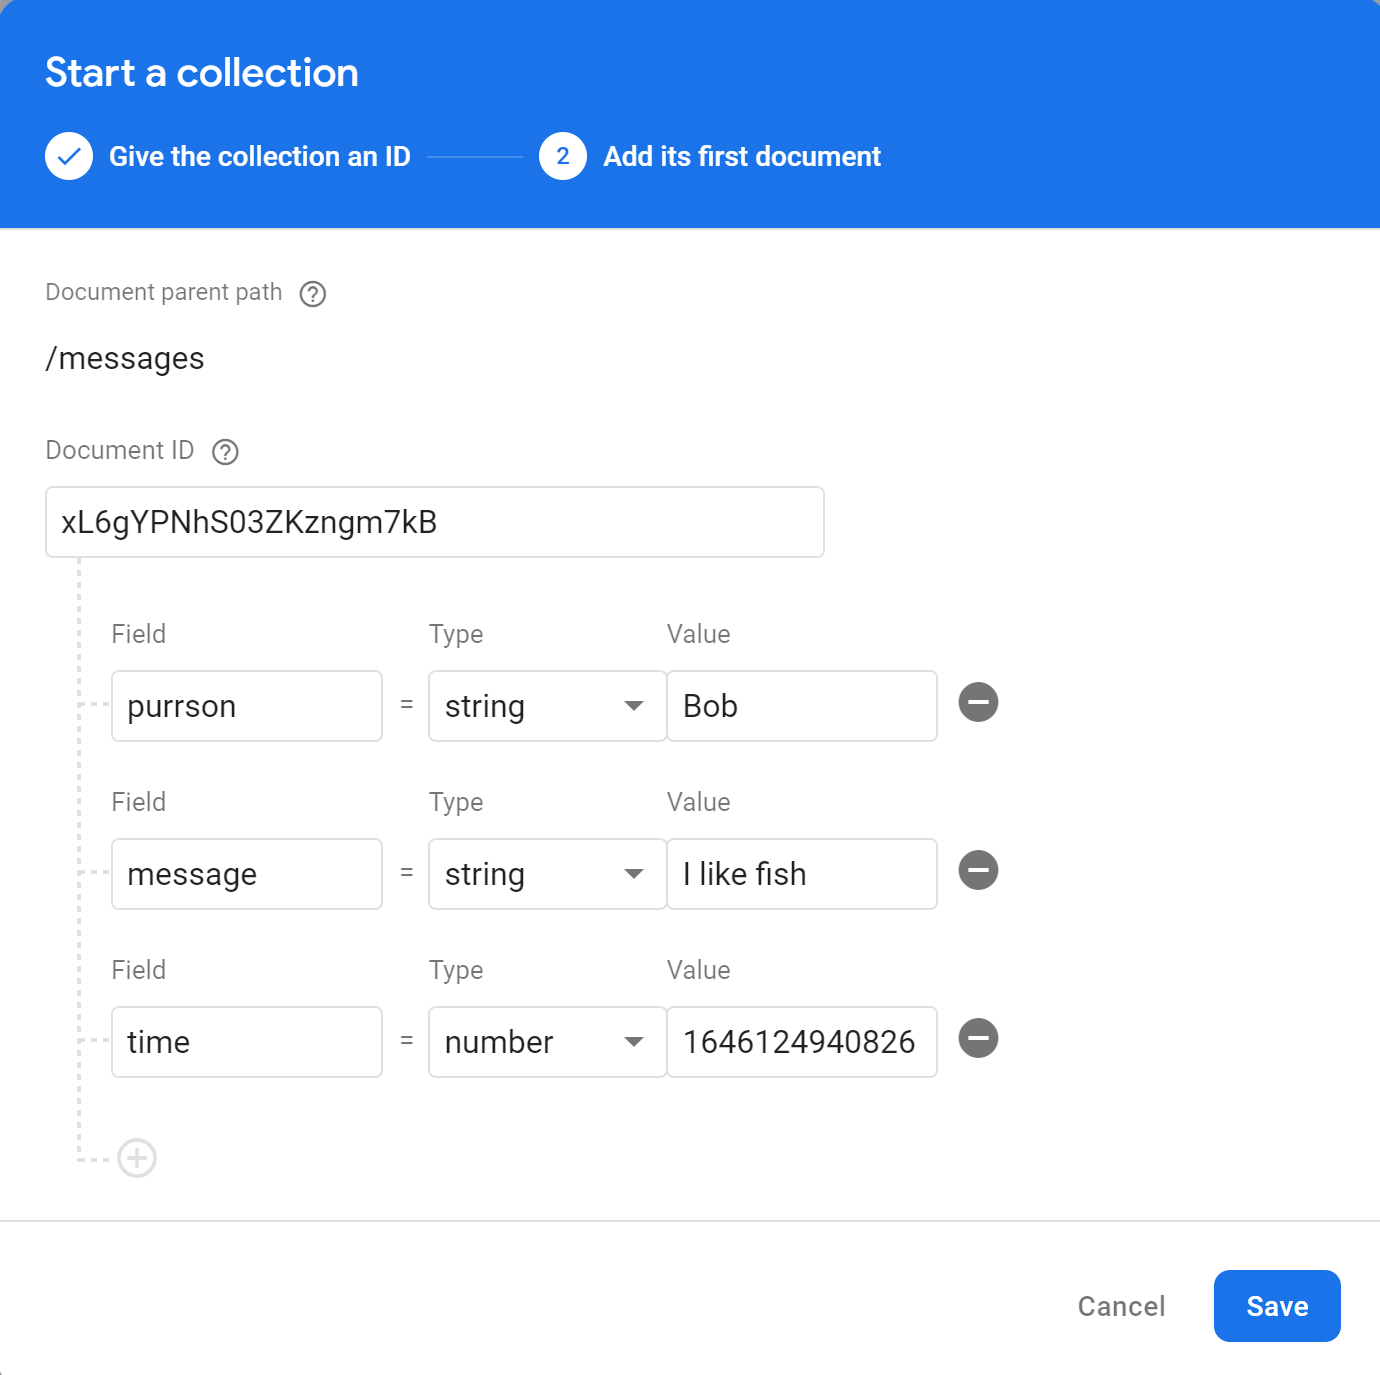
Here we have 3 fields, the name of the purrson🐈, the message, and the time. The time is the number of milliseconds passed since 1 January 1970.
Connecting the Firestore DB to the app
Let's first import these things:
import {
  addDoc,
  collection,
  getFirestore,
  onSnapshot,
} from "firebase/firestore";
So what is the use of these? We'll know later.
First, let's get the DB
const db = getFirestore();
Next, let's get a reference to the collection messages:
const col = collection(db, "messages");
Now let's export these and go to App.svelte to use these:
export { si, so, col, addDoc, auth, onSnapshot };
Now to App.svelte. Let's import the things we exported fromfirebase.js.
import { si, so, col, addDoc, auth, onSnapshot } from "./firebase";
Let's make a variable data.
let data=[];
Now we'll use the onSnapshot function of Firebase to retrieve the data. It runs first when the application is loaded at the start and runs again if there is a change in the database.
So let's fetch the data:
onSnapshot(colRef, (snapshot) => {
  let books = []
  snapshot.docs.forEach(doc => {
    books.push({ ...doc.data(), id: doc.id })
  })
  console.log(books)
})
Now we'll get the data. Now let's use an each loop of Svelte to show it on the UI.
{#each data as { message, purrson, time }}
  <div class="cont">
    <h1>{purrson}</h1>
    <p>{new Date(time).toUTCString()}</p>
    <h2>{message}</h2>
  </div>
{/each}
Here, we are turning the time to Date
Thanks for reading! Hope you all like it. Meet you in part 3!


